Dear Guest,
Please register or login. Content don't create itself!
Thank you
-
 Re: Llewellyn Bikes
Mitre the seat stays by hand
just never got around to setting up a thingy to rough them out by machine
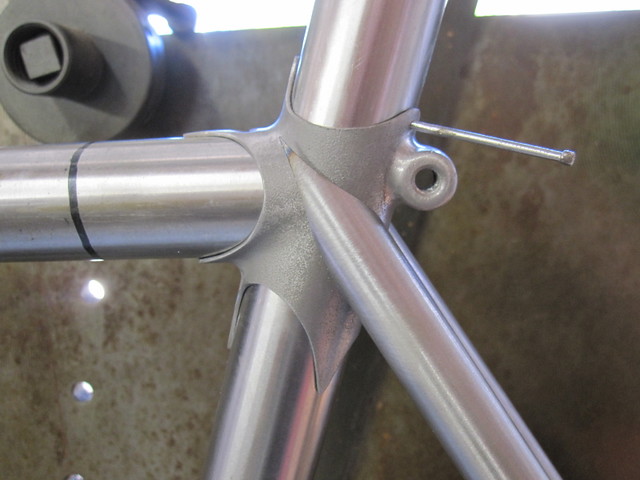
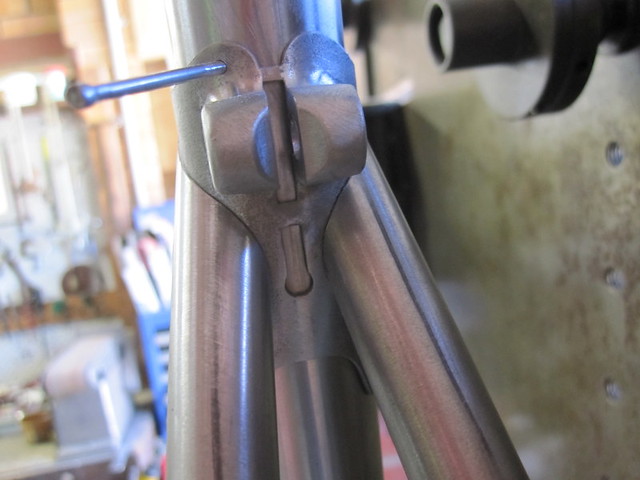
Seat tube vent, well why not
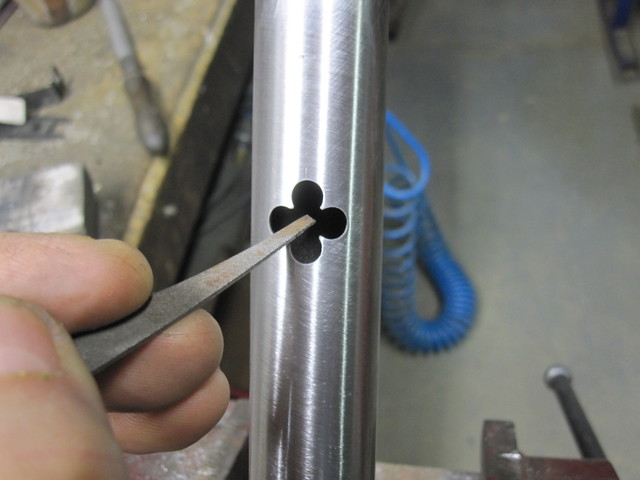
Titanium braze finger
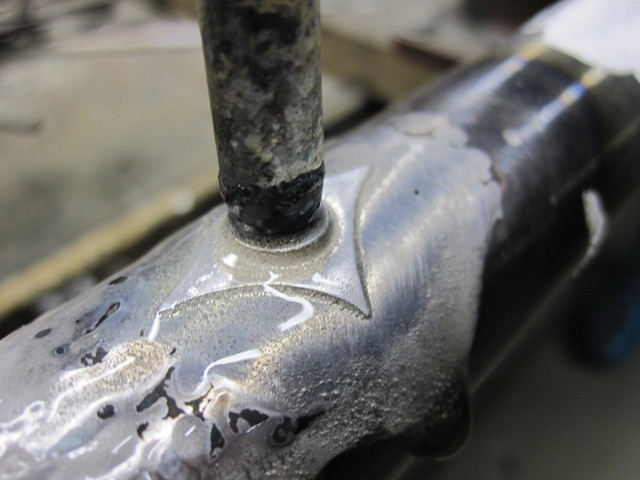
Third bottle mount under the DT
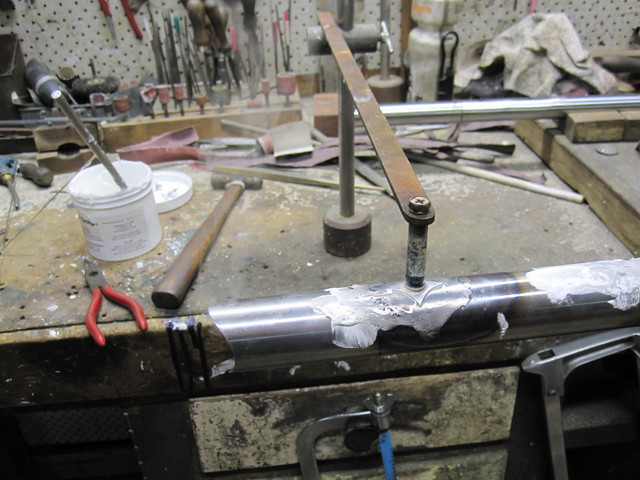
Reinforcements reduce the chance of a tear when the cage is badly bumped, as in a fall
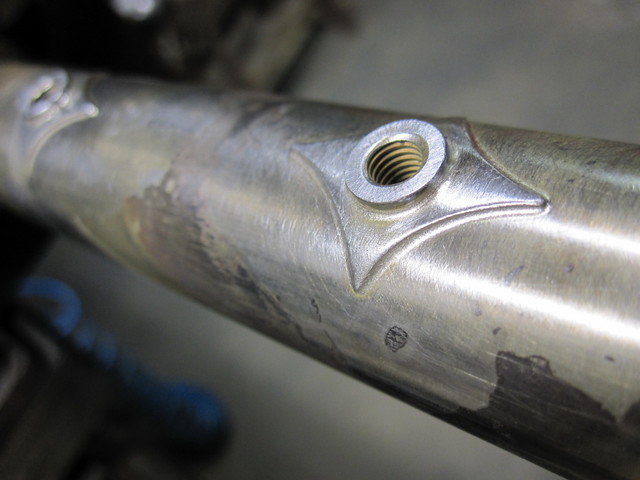
Internal rear cable route, with the casing terminating just inside the TT with an annealed brass tube connecting.
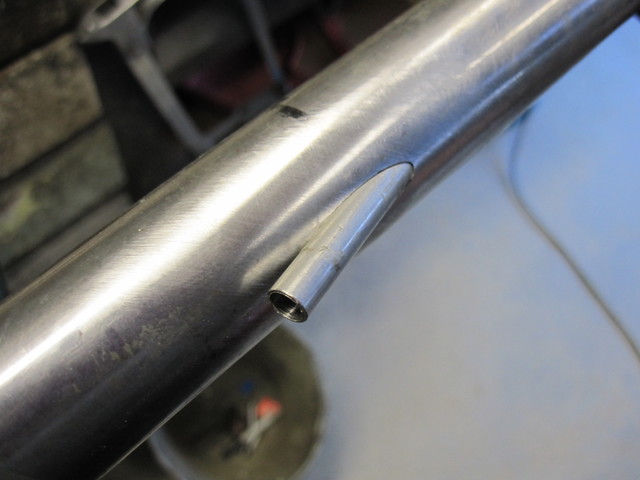
The reinforcement cover is cut from Metax HT, which is very important if one does not want a failed top tube after many years of HARD USE. There is the easy way, or the right way, according to my current opinion.
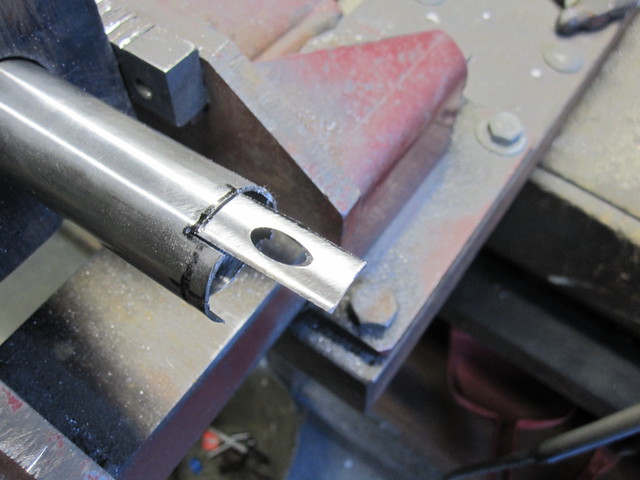
all set to go
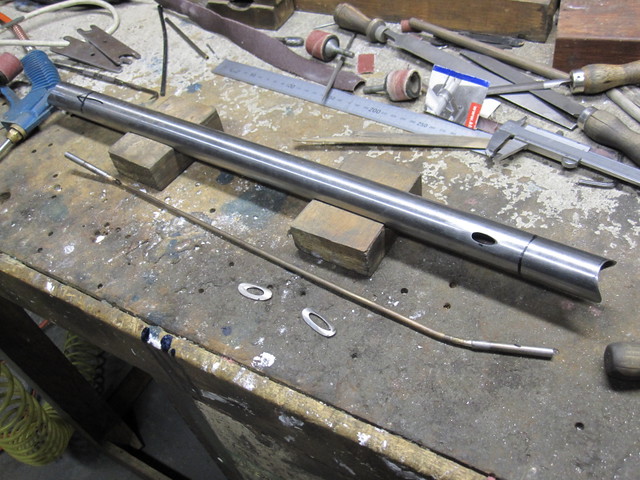
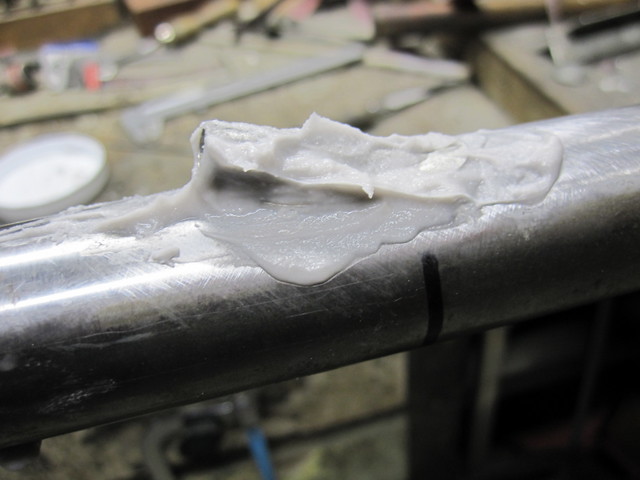
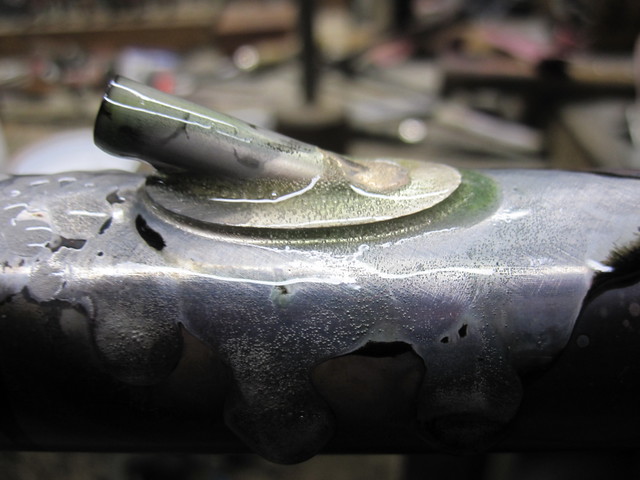
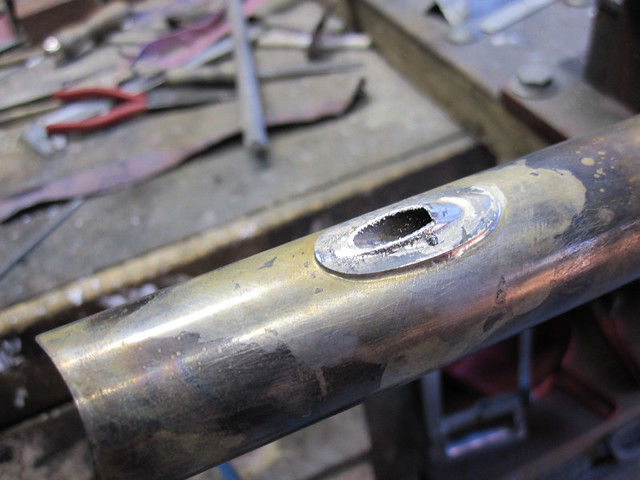
Sanded, to polish later
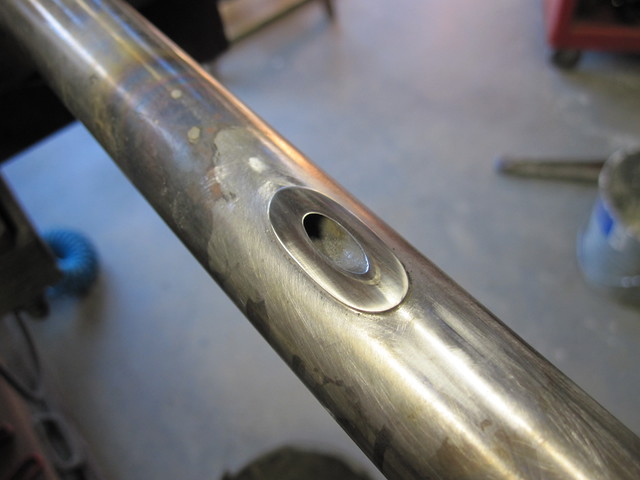
-
 Re: I mucked up the photo sequence
Nope, must be another Bryan! I was hanging out with an Aussie girl in Idaho back then... Thanks for asking though!

Originally Posted by
Dazza

Thank you. My pleasure.
Bryan, are you the same chap who worked a bit with the Aussie team at Tour du Pont circa 1996?
Cheers
bryan davis
-
 Re: Llewellyn Bikes
Man triangle tacked, align . HT is squared off in the lathe, deburred tolerance is max .30mm over 300mm of HT to ST post brazing and reaming.
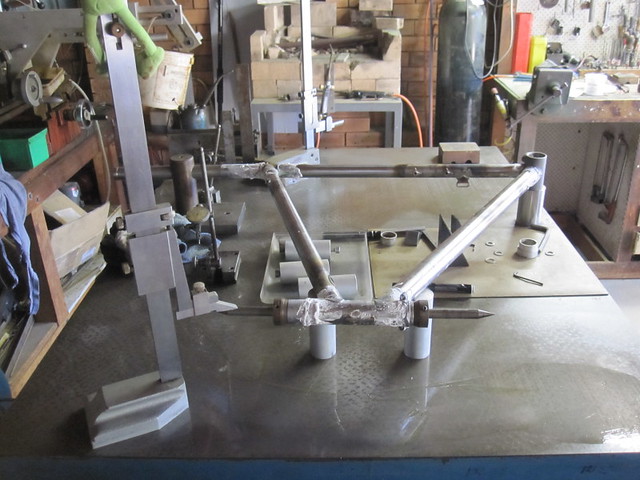
Ready to cook up
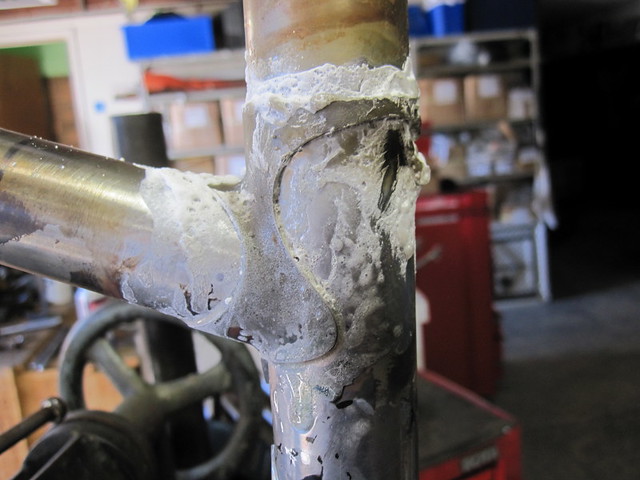
cooked
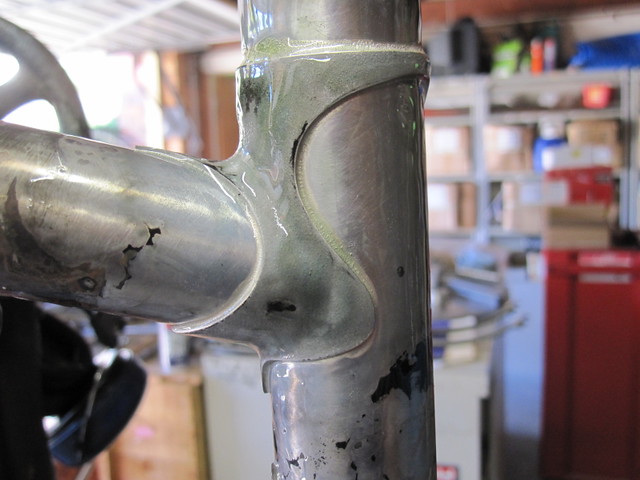
Flux washed off
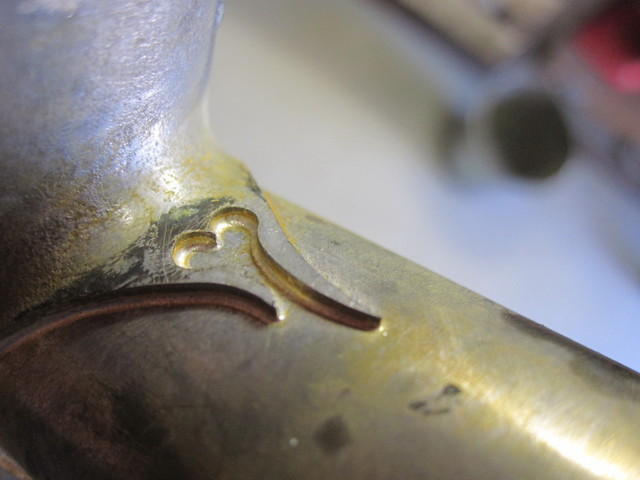
Filing to even up the seat lug and taper the lug
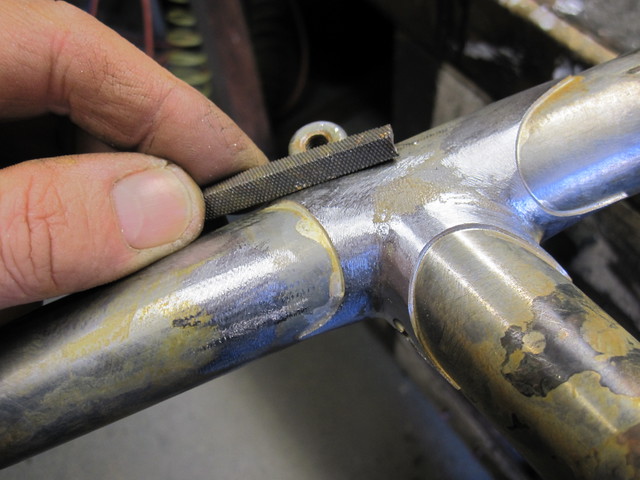
Fitting the stays
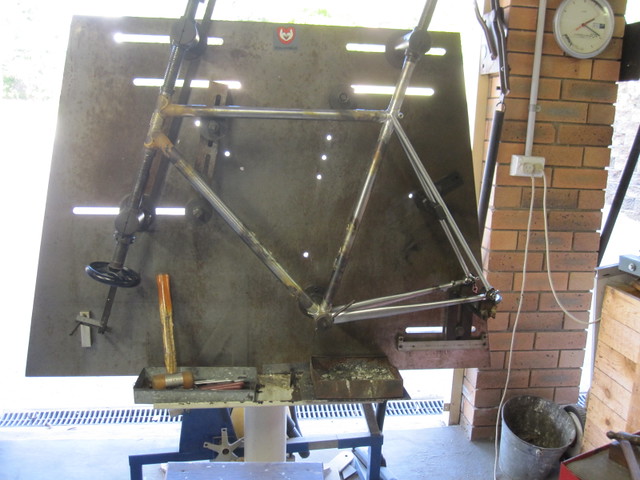
Seat stays are cleaned and tap tap into place
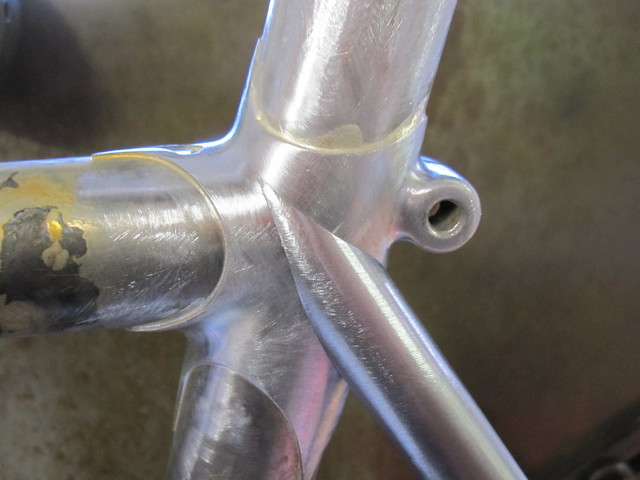
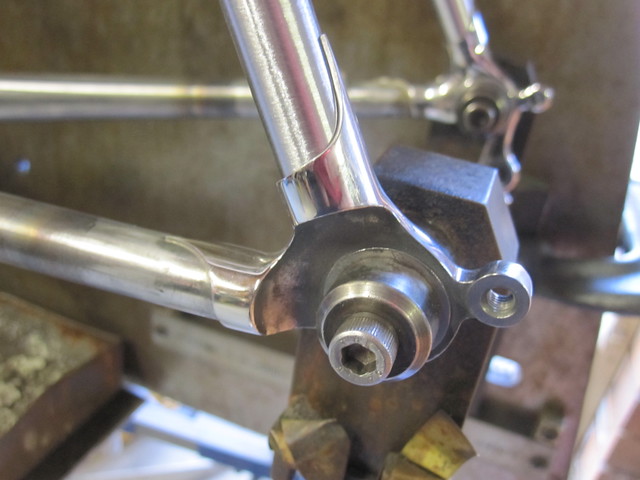
cook up
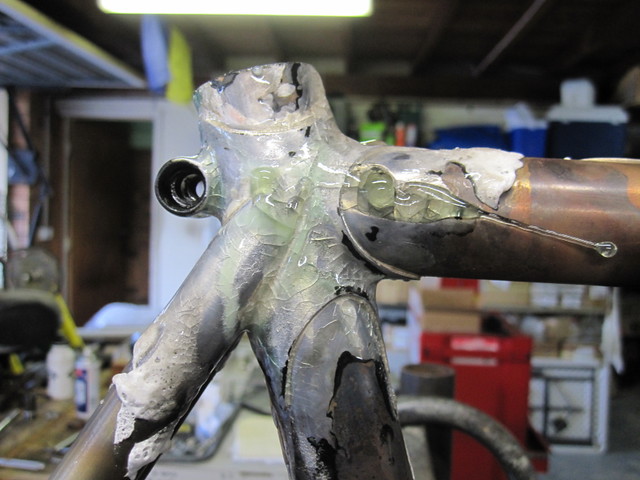
-
 Re: Llewellyn Bikes
Bridges are set to .50mm , no spacer washers to get the Mudguard line sweet
Yep, it can be done.
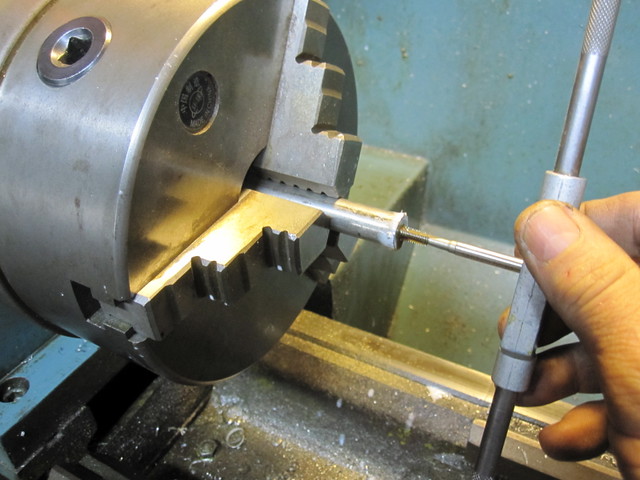
Ya needs de special thingy
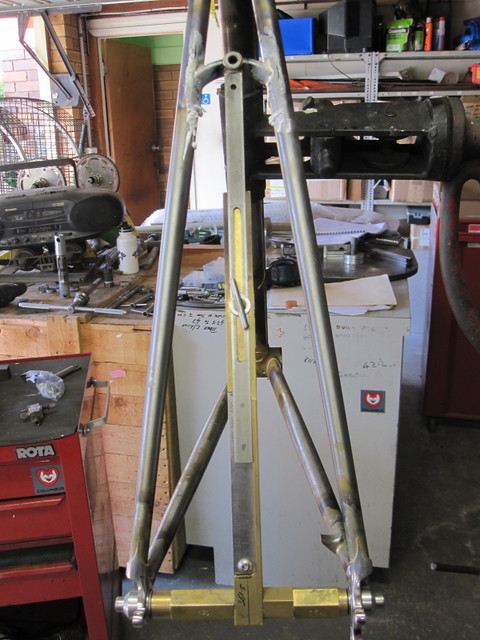
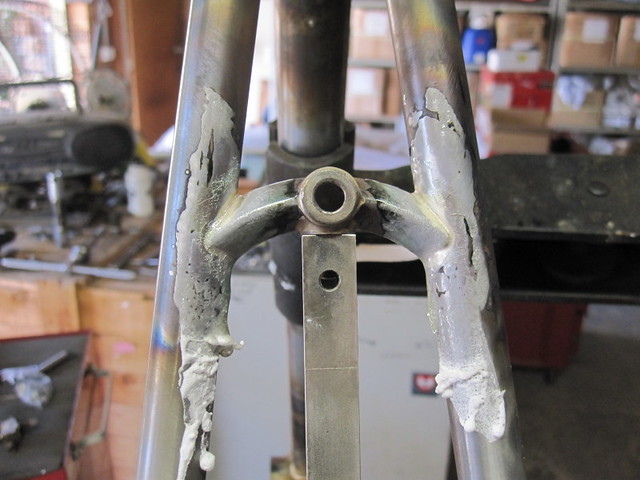
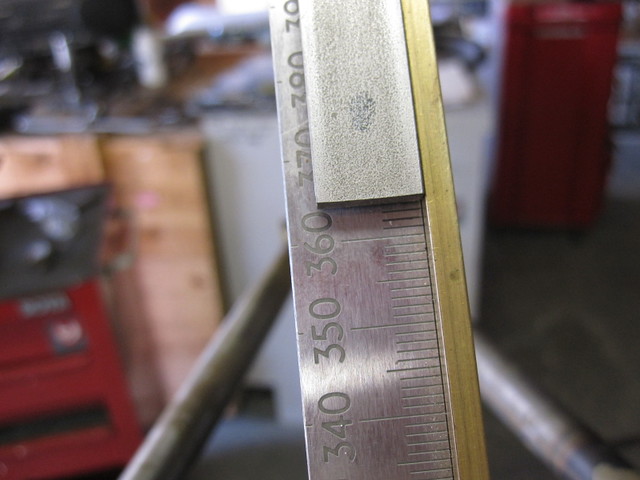
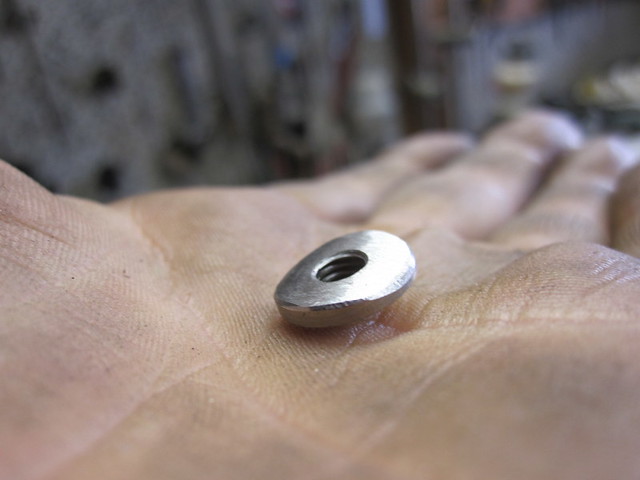
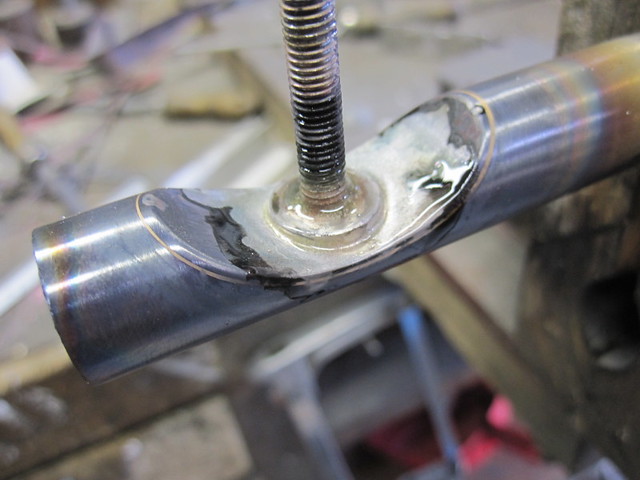
onto the chainstay bridge and mudguard stud
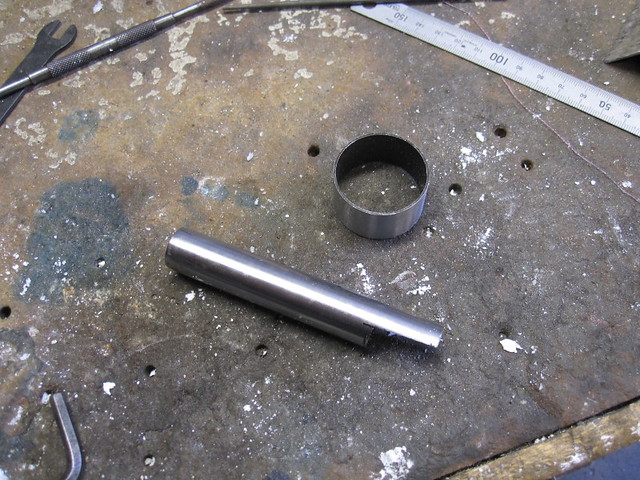
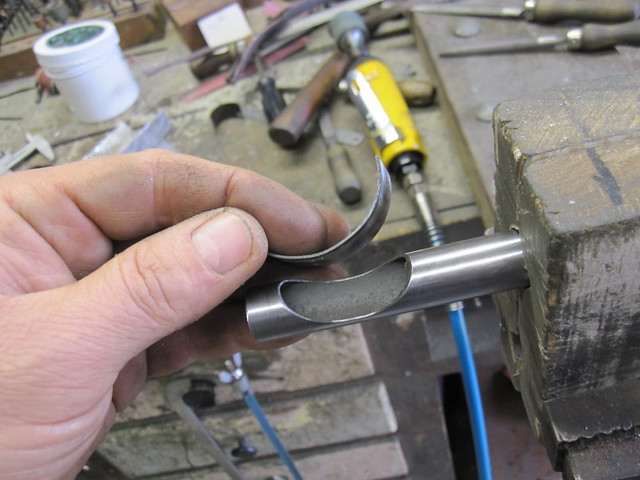
whoops, fuzzy
Cooked up with brass
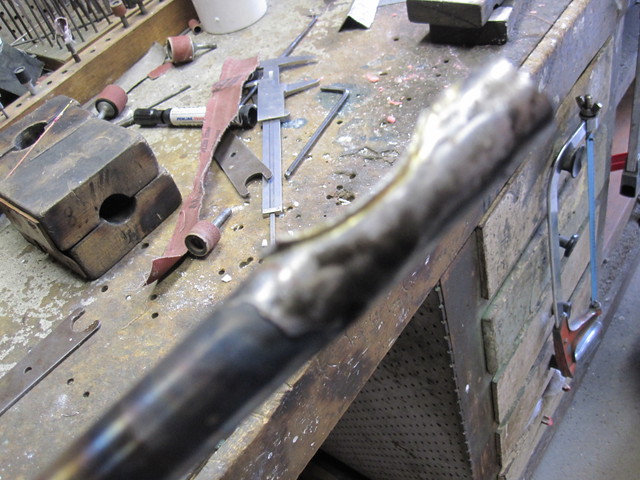
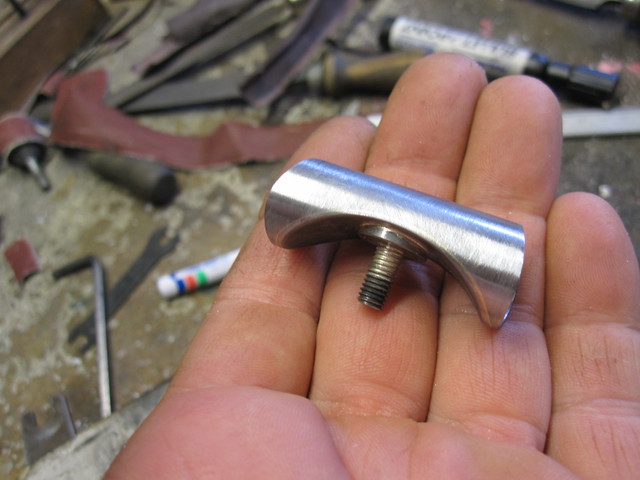
clean up

back to the beautiful thing
ready to go in
-
 Re: Llewellyn Bikes
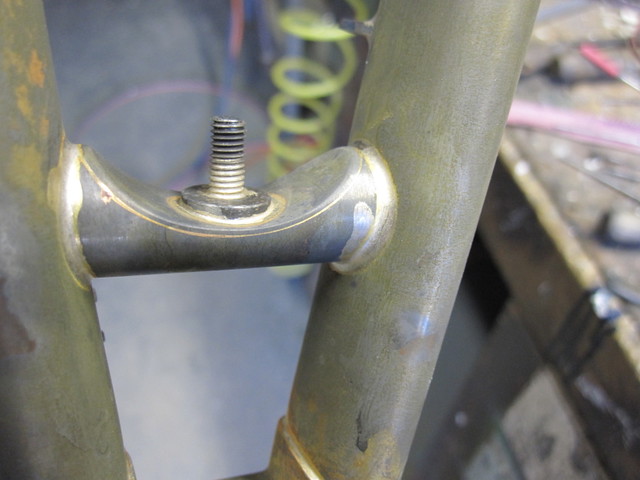
Stainless steel spoke carriers are cooked into place
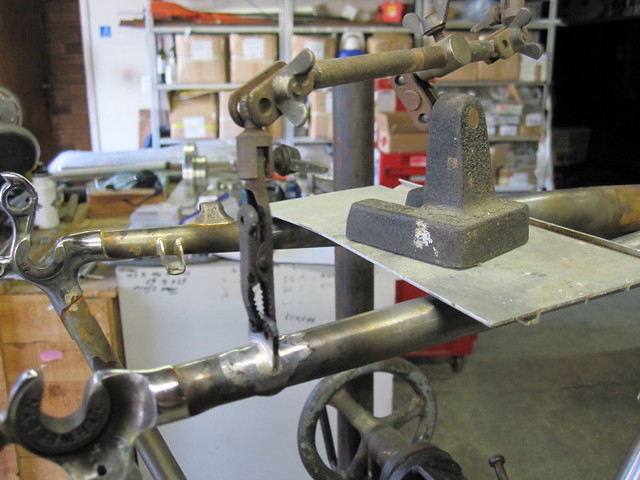
Straight cable pulls to the cantis is a must for me. Smoother, positive brake feel. Parallel cable run the seat stays and thus perpendicular to the brake arms.
Thus I measure and sort some little jiggy things to do this.
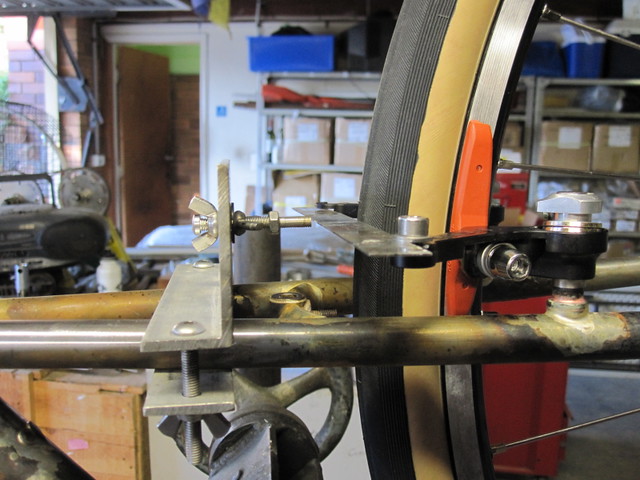
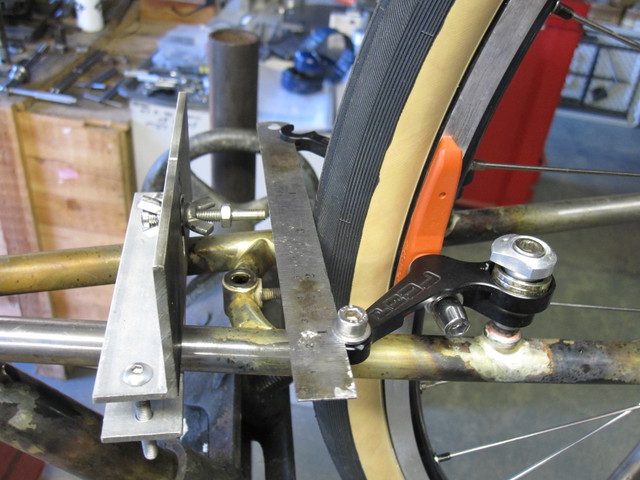
No free hand by eye, errrrrr, squared and measured off the inspection table.
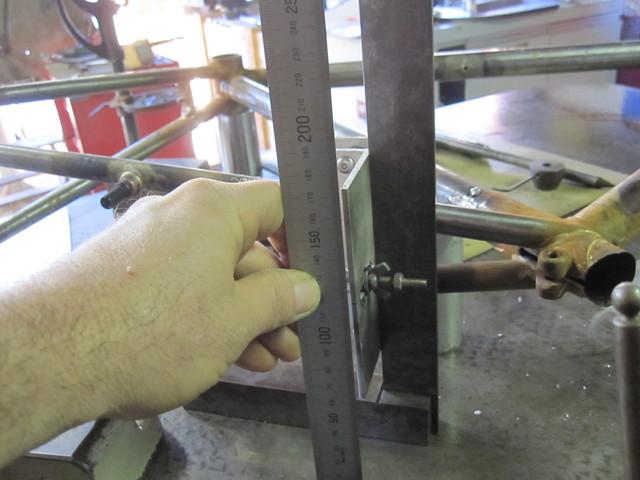
The boss has an M5 adjuster thread and is stainless steel. It is errrr to my thoughts to see set ups with no adjuster with road brake lever use. How do you chaps account for pad wear? Shifting the stirrup along the brake cable is errrrr and fraught with peril. Beats me!
Cook up starts, more curves are added, Stay tuned for later.
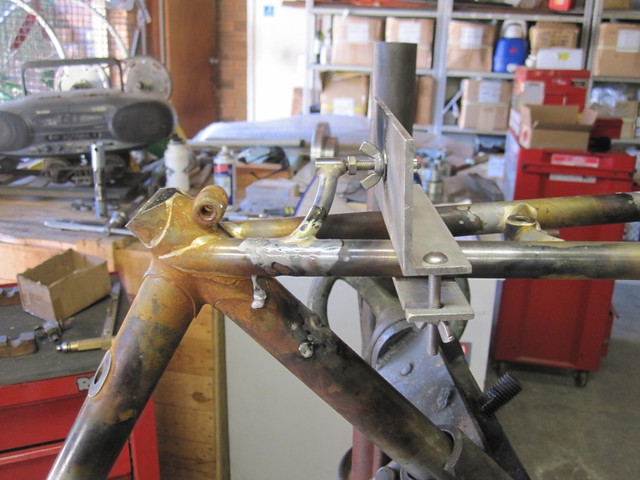
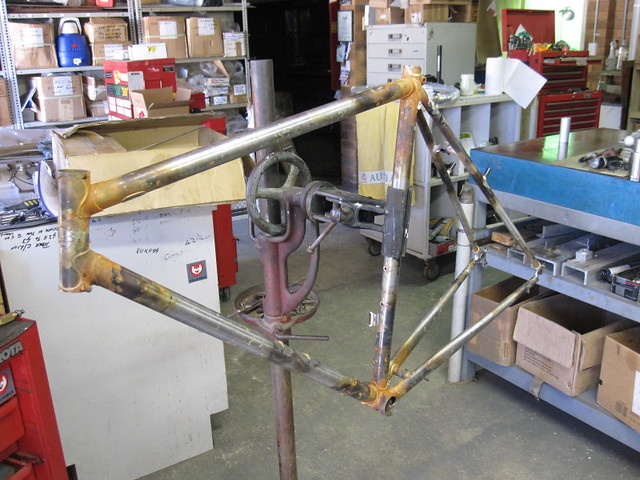
Cooked up and ready for the pickle tank
-
 Re: Llewellyn Bikes
Finish work begins before I start on the racks
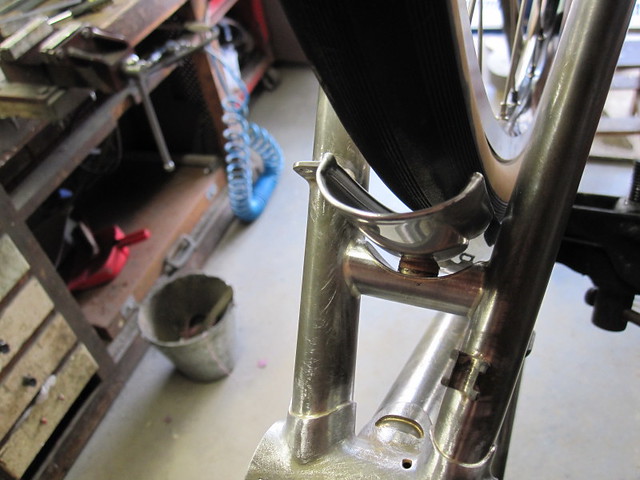
Rear brake cable stopper, some curves to give elegance to compliment the curves of the racks to come. Stainless and M5 adjuster thread.
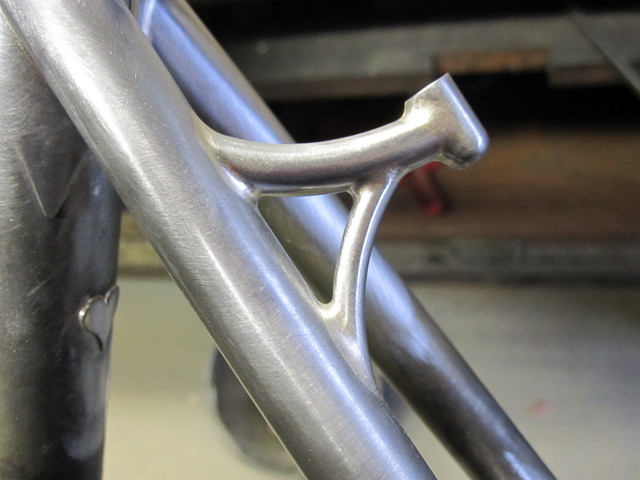
Studs for M5 Nyloc nuts. No worky worky loose, rattly rattly fall off oh good grief moments that you will have with screws.
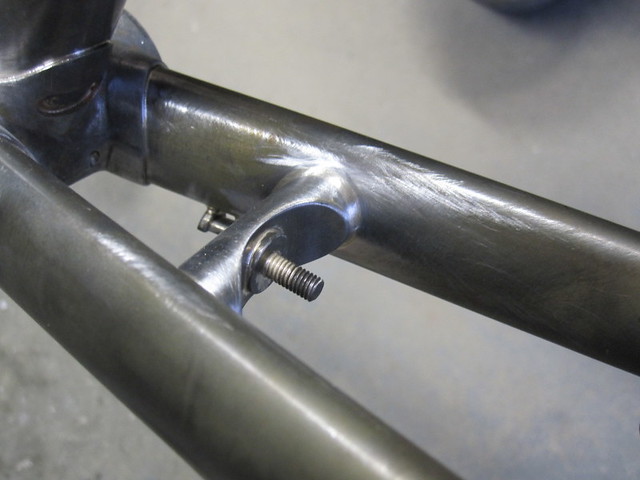
Seat lug filed.
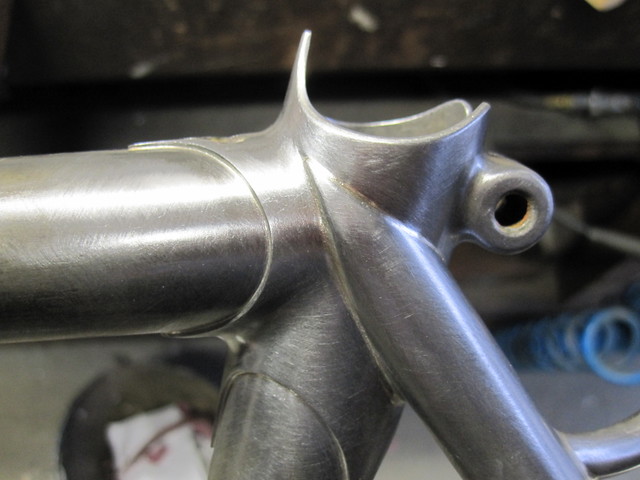
never perfect, but no need for slogans to hide it

About to attack the top head lug
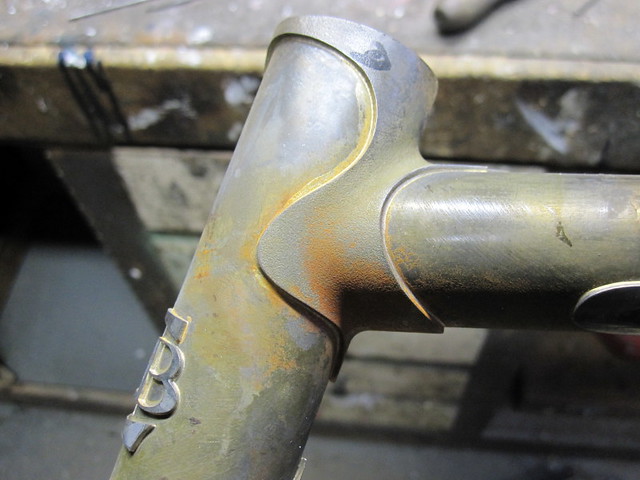
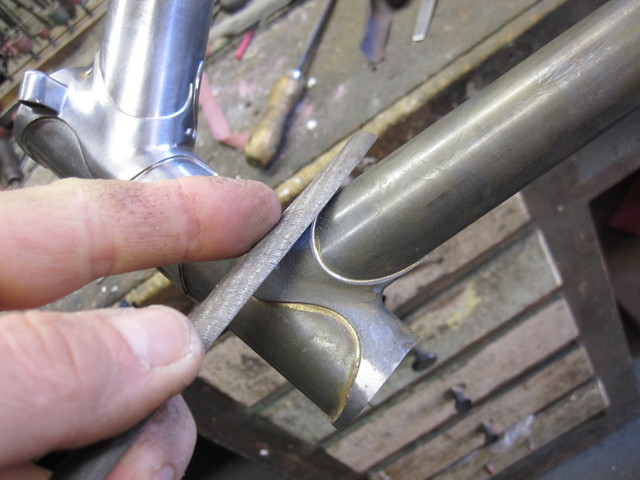
I was seeking some thing neater, a cuddling effect, anyhow, a final check before paint

-
 Re: Llewellyn Bikes
Dt head lug
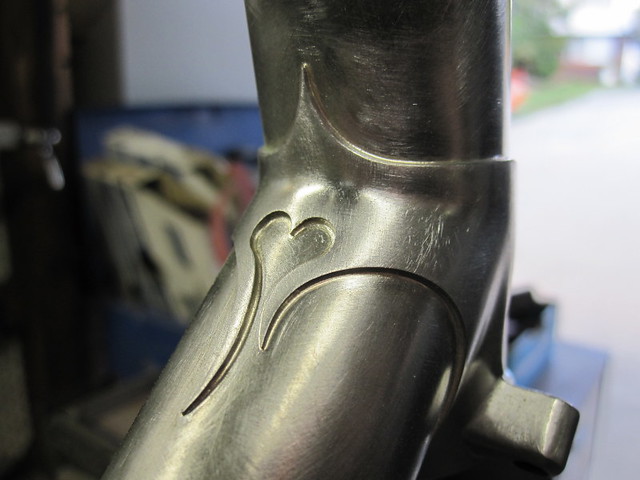
Note the Light wire hole in the lug via a tube brazed in place
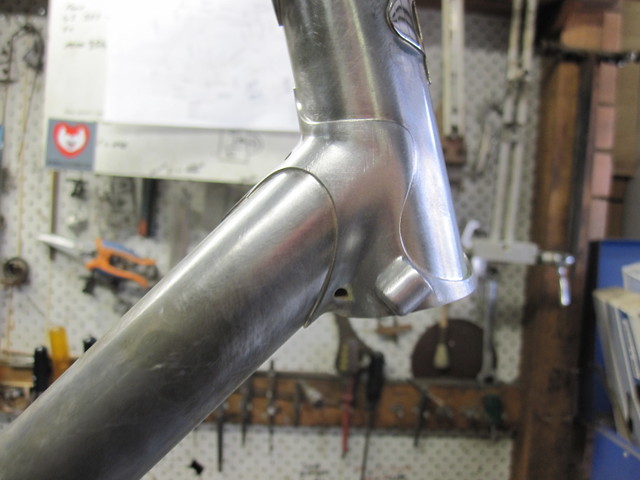
Light Amplification by Stimulated Emission of Radiation does its stuff, I hand clean up and form and braze. File, sand and polish.
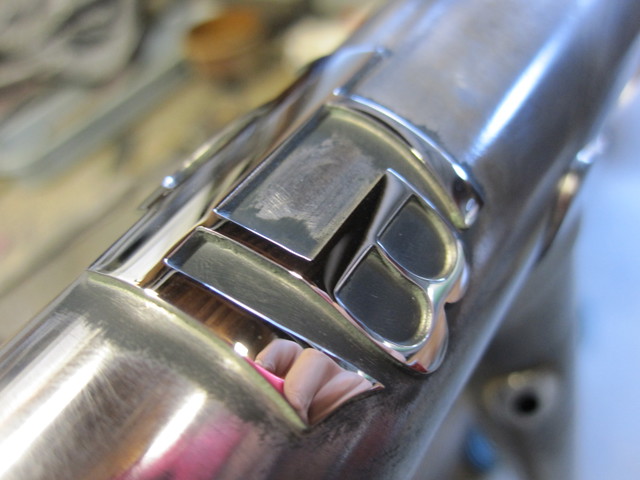
Polished reinforcements. Brake cable casing terminates at each end but connected by an annealed brass tube
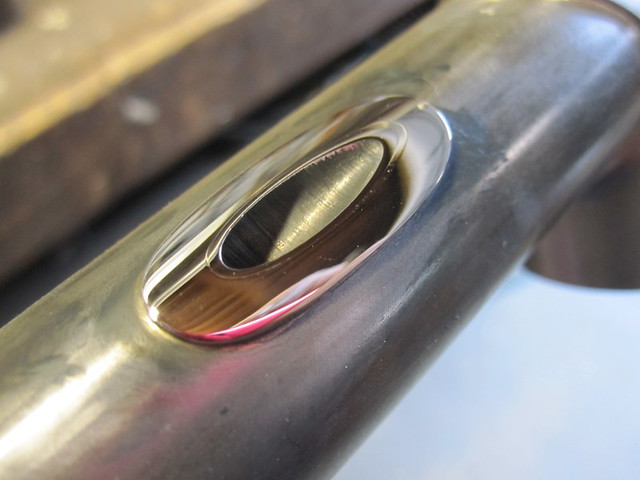
Just bling to look at when follow a Llewellyn bike. No room on the stays for the normal detail.
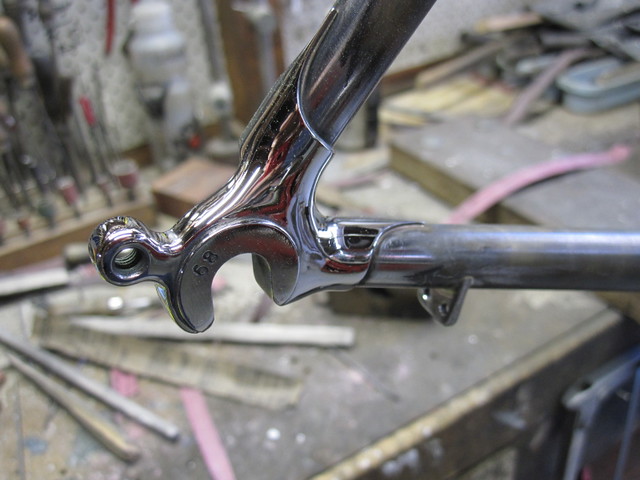
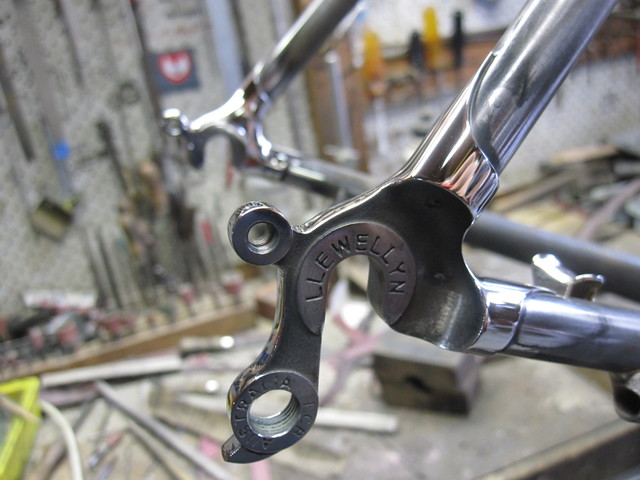
Dropoust post polish

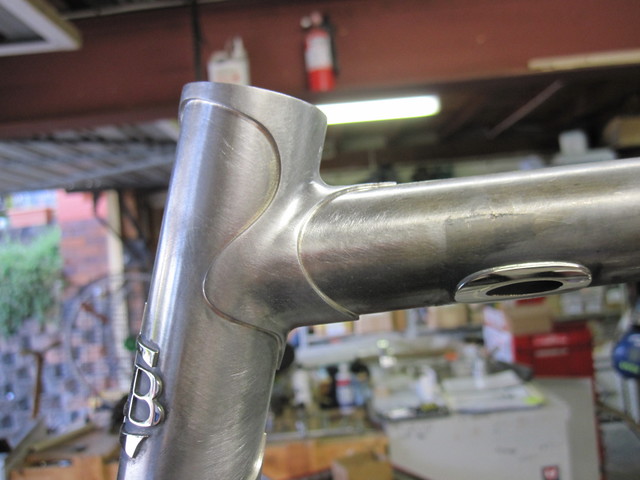
Top head lug
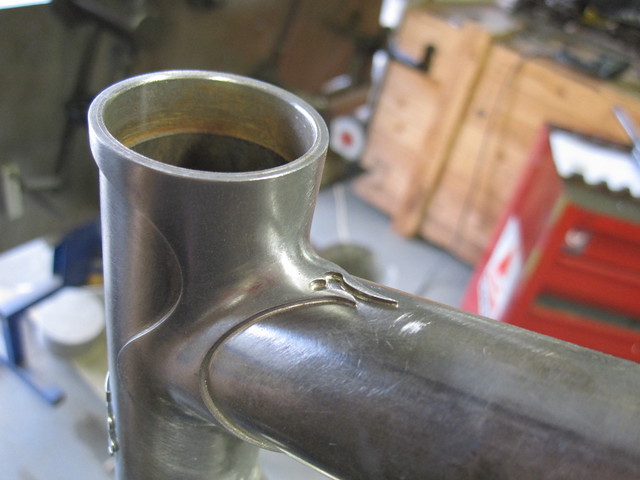
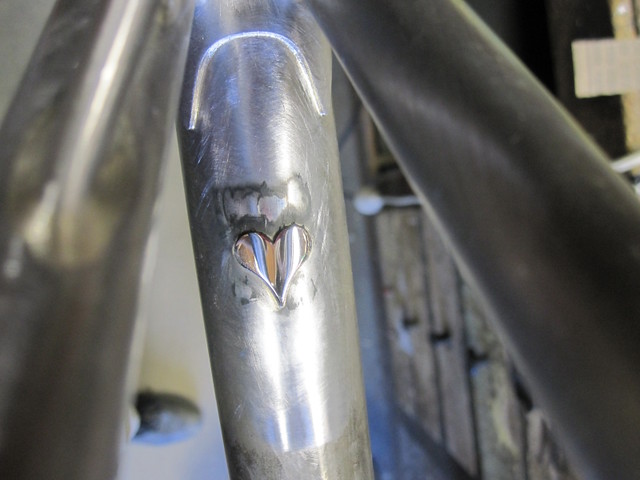
because I reckon seat lugs are interesting
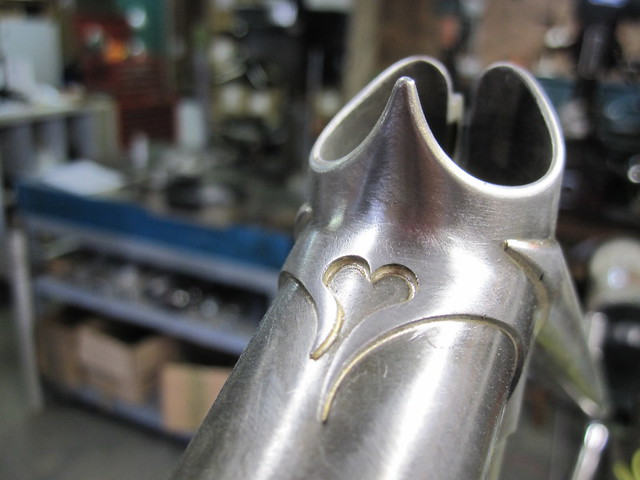
Next, the rack making
-
 Re: Llewellyn Bikes
Looks lovely, Darrell.
Nice to see your work here again.
-
 Re: Llewellyn Bikes

Originally Posted by
e-RICHIE

Looks lovely, Darrell.
Nice to see your work here again.
Thank you.
-
 Re: Llewellyn Bikes
Your frames are beautiful; I like the way you round that top edge of the seat lug, really smooth.
-
 Llewellyn Rando racks
Meet Carol the tube bender

Jesse knocked this up for me.
Inspiration from Peter Weigle pics of his bender
but Jesse went on, the tube is captive and cannot flatten out. Even on tight bends the tube distortion is kept to .15mm out of round!
It is a brilliant piece of kit and from the start of my rack making desires I knew I had to start with a super working bender. The off the shelf ones just need not meet my needs.

There is a lot of work in racks if they are done nicely. The front tray is the start and the connection has an internal sleeve. This is all stainless steel which has complications and implications and adds considerable construction time.
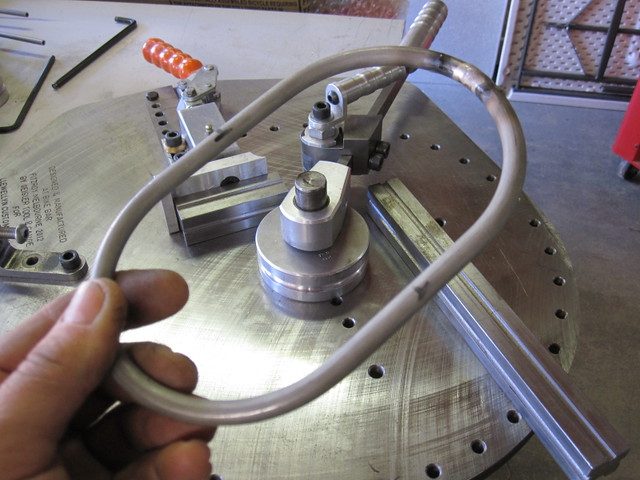
Special jigs were made at night after dinner. Toil.
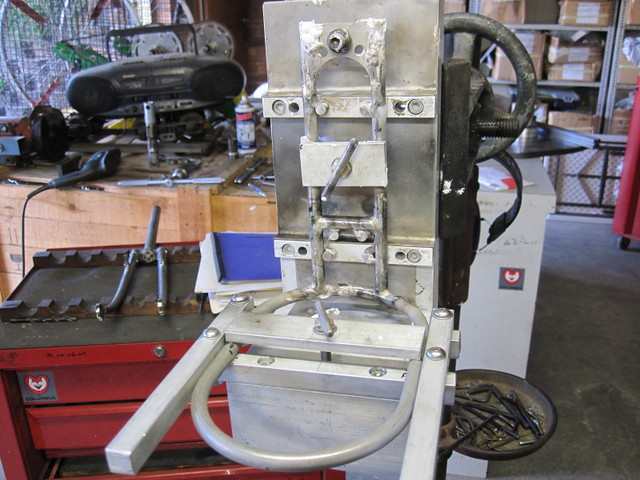
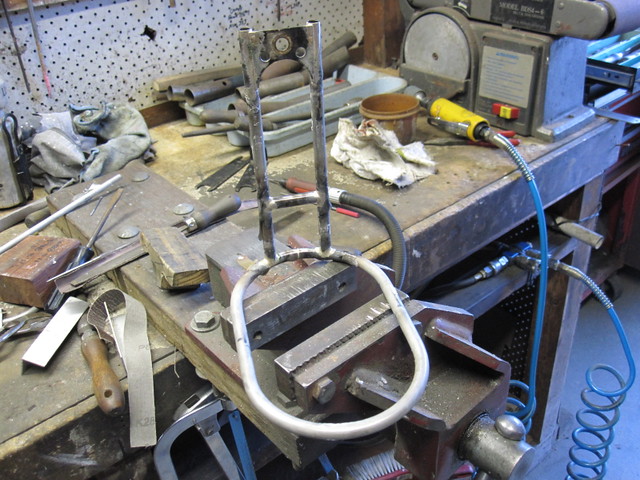
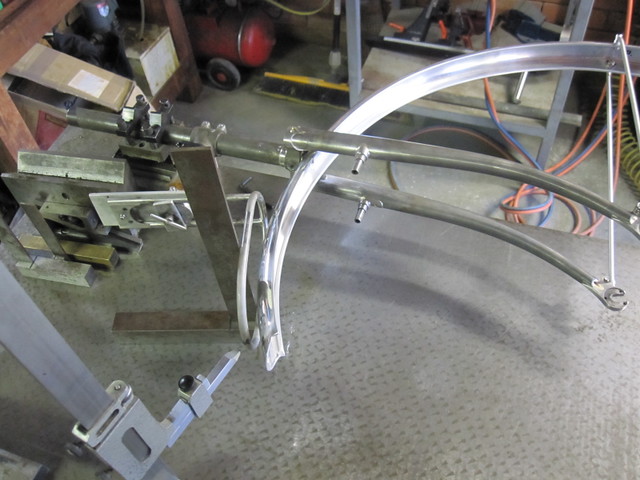
Next jig fitted in location to .5mm in relation to the mudguard

then all is square all up correctly
-
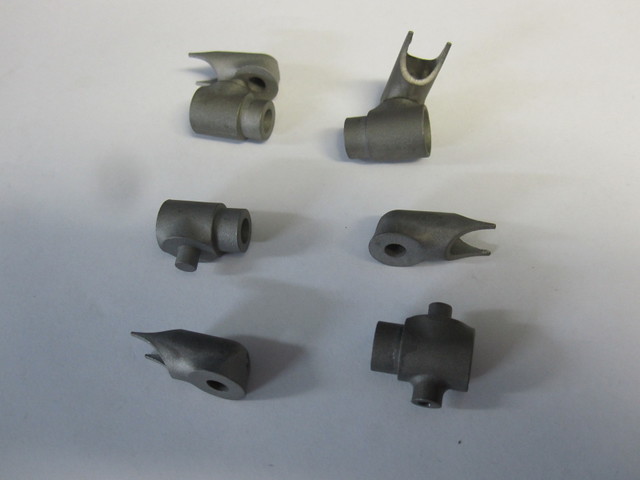
 New Llewellyn Rando rack bosses
I made some bits with the lathe, fillet brazed the rack legs
Nah, this is not the best way.
The easy way or the best way.
SolidWorks was fired up. Drawings, rapids, all was good, then the samples, super.
Production stock ordered and now here if you need them, you know you need them 
So I have stainless steel rack bosses that fit directly into Paul Components Canti brakes. Articulated for 8mm tube, any angle rack leg, curved or straight and with a M3 head light earthing screw boss on one of the bosses.
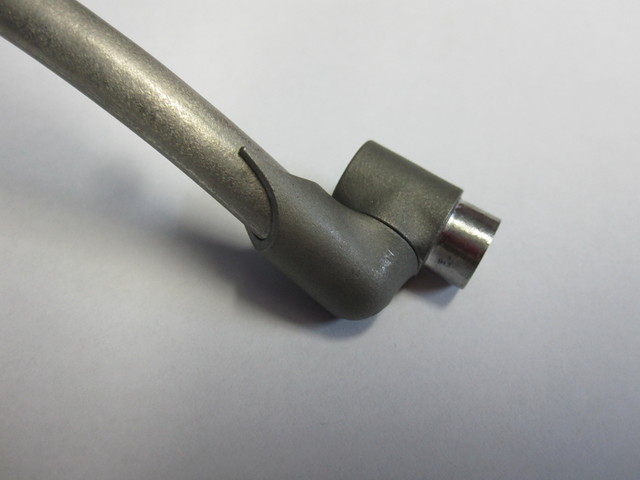
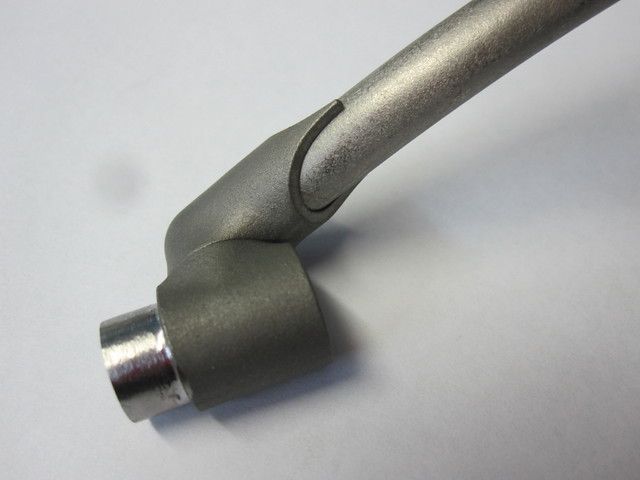
Cook up on location
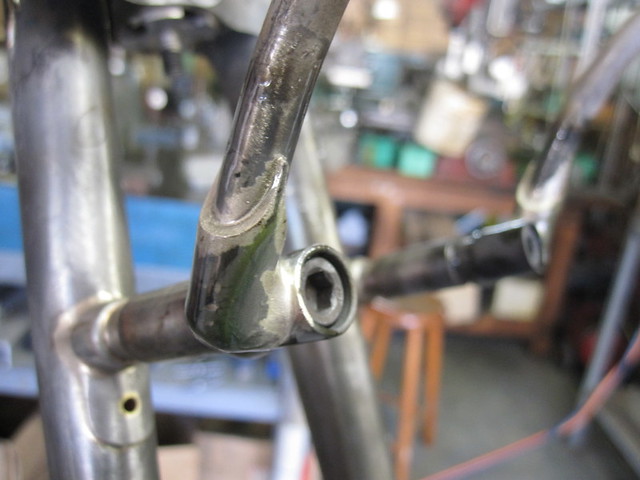
-
 Re: New Llewellyn Rando rack bosses
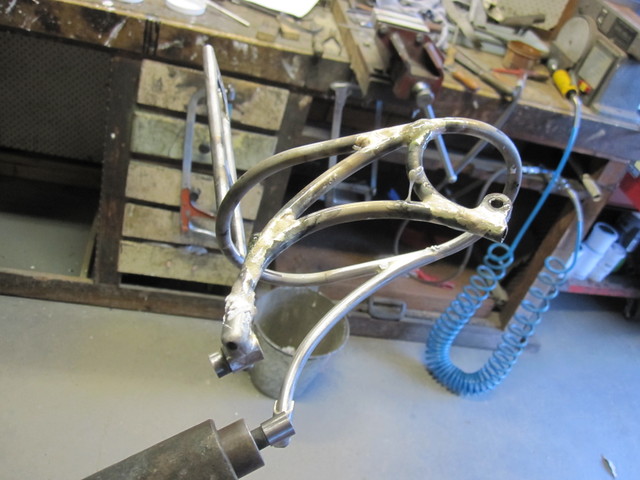
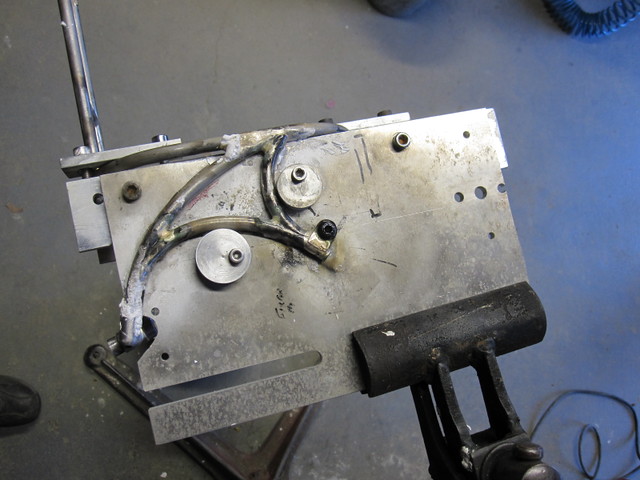
the other end of the leg
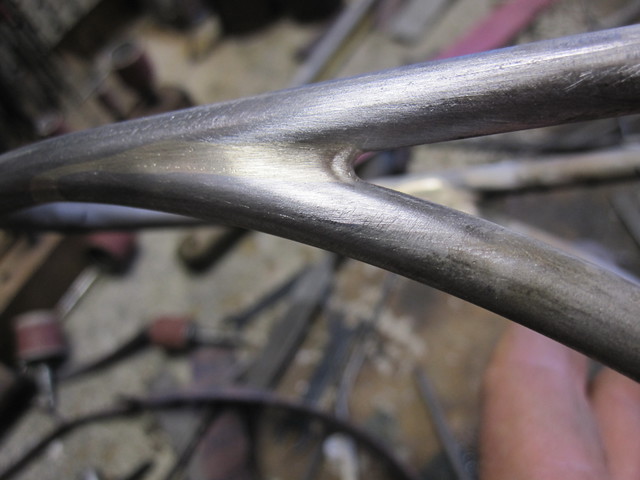
head light mount looks like this
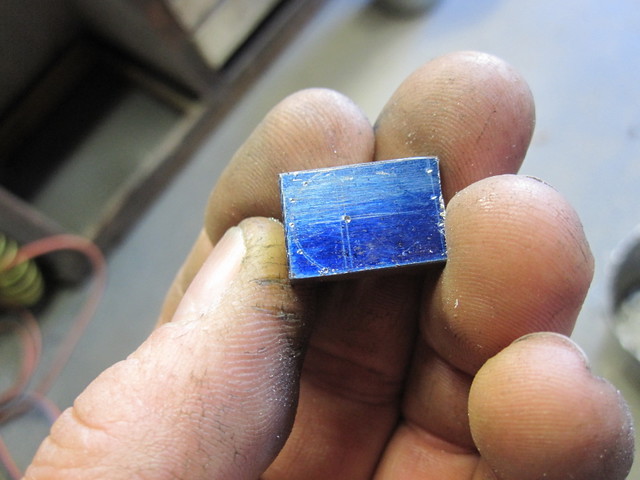
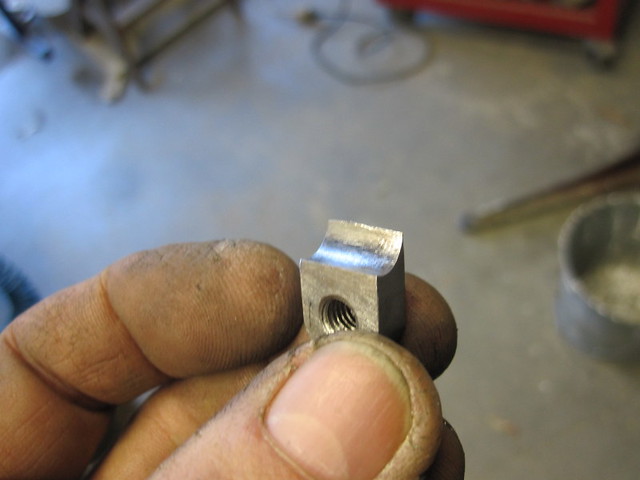
more jigs and stuff
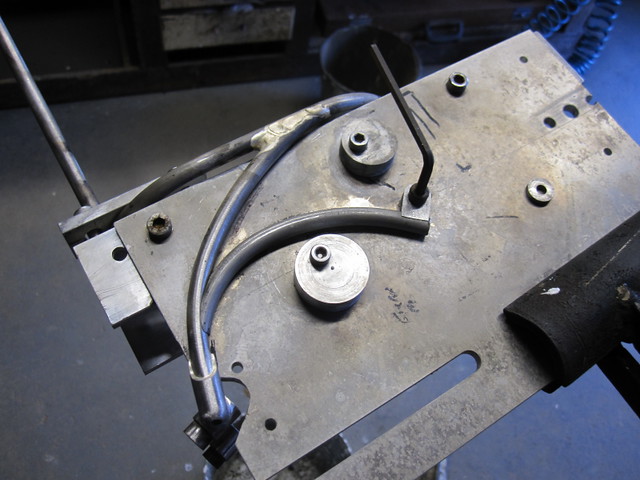
Cooked
-
 Re: New Llewellyn Rando rack bosses
I am a metal worker, a bicycle frame builder, I make frames and stuff from metal.
It is my chosen path of professional expression since 1979 as a 16yo obnoxious young sod racing bikes I had vision of what I wanted to be. The bike world has been good to me.
I make my way in society by the work from my hands and with Joe Cosgove's superb painting
I do not want to be a trinket merchant, if I get that urge I will quit and fill pot holes with the council road gang for my $ before I market off my decaying reputation.
The lathe, the most beautiful thing
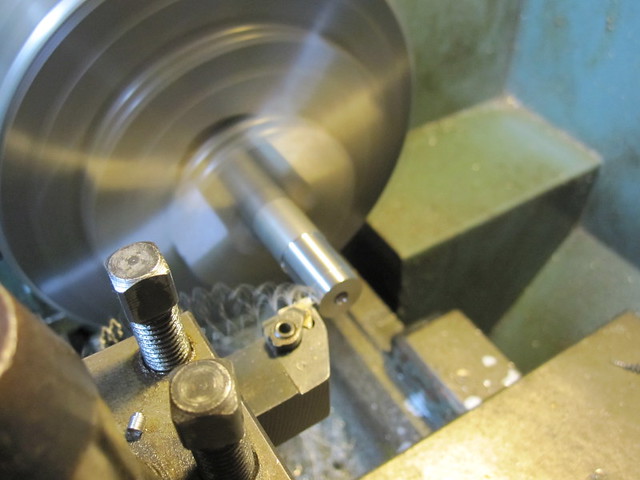
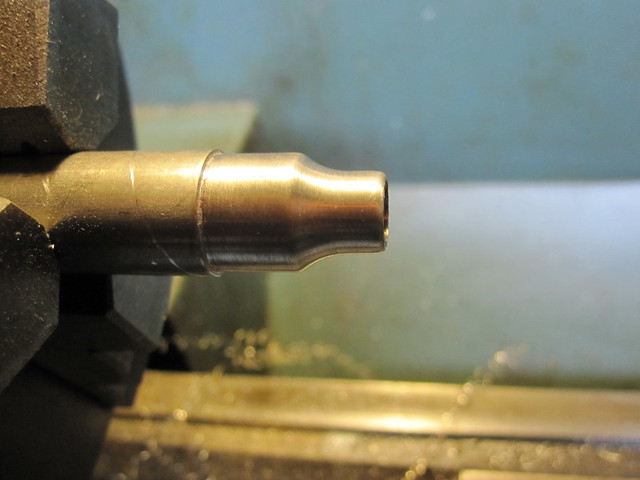
this is what it is for
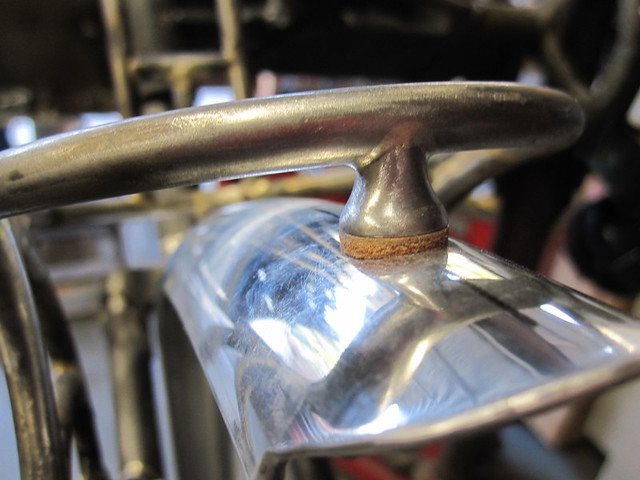
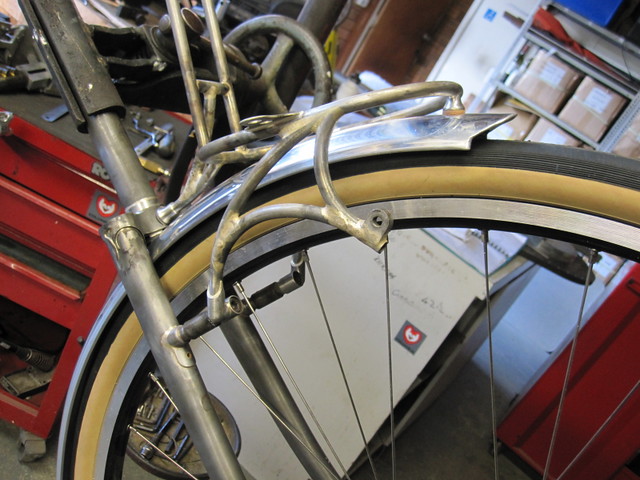
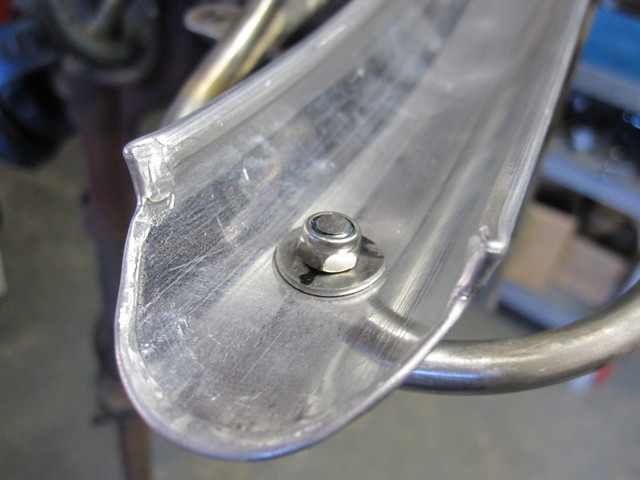
Curved stainless mudguard washer, no screw to work loose, M5 Nyloc is the best way
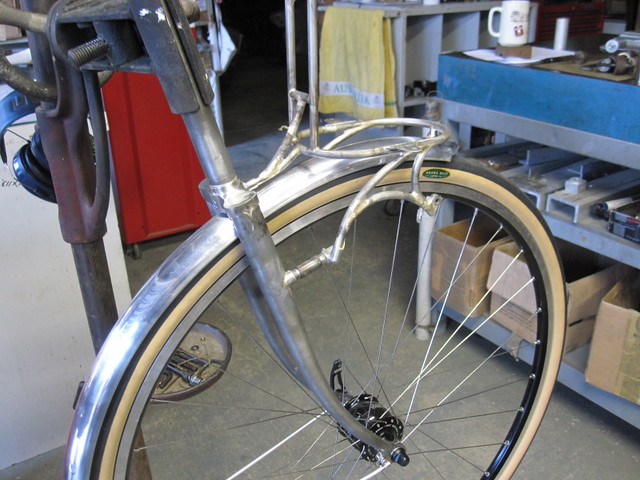
The rack and bag position is plotted before building every rando so one's hands do not rub on the bag when on the tops.
I cannot believe the bikes I see with the bags 15mm from the bars.

-
 Re: New Llewellyn Rando rack bosses
This is my favorite string of posts on this entire forum. I hope this is archived and separated from everything else. It's incredible.
-Dustin
-
-
 The rear Llewellyn Rando lunch box rack
The rear rack is now formed up
Jigs locate it within .5 and square of the rear mudguard.
The legs are bent, cut and mitred to fit the located rack. (the rear M.G has been removed)
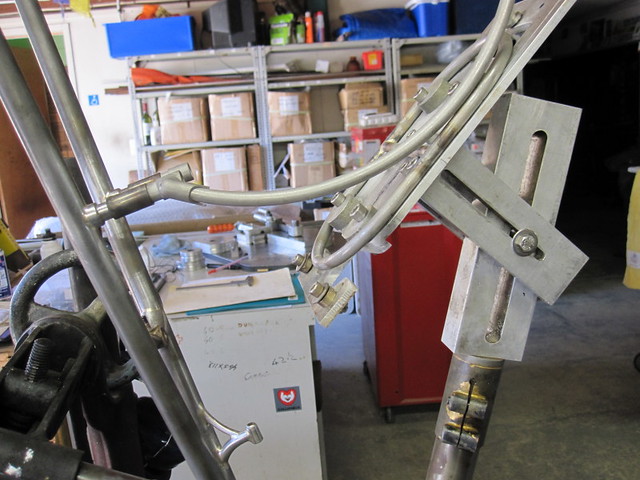
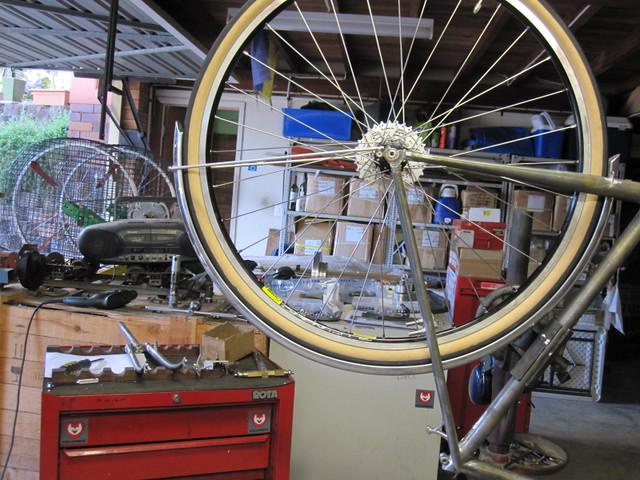
'Rando Roller' is the red roller cabinet and chest in the middle of the picture which holds all the rando and rack making jigs, fittings and materials.
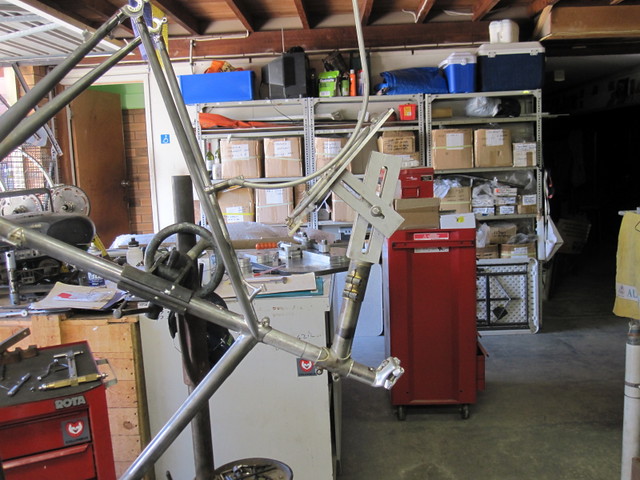
Square up
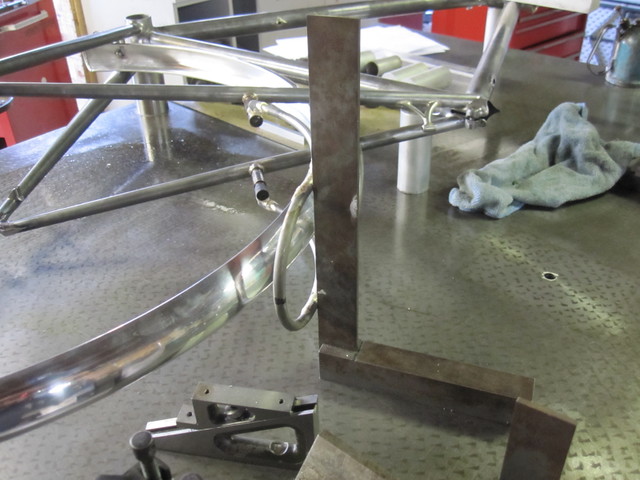
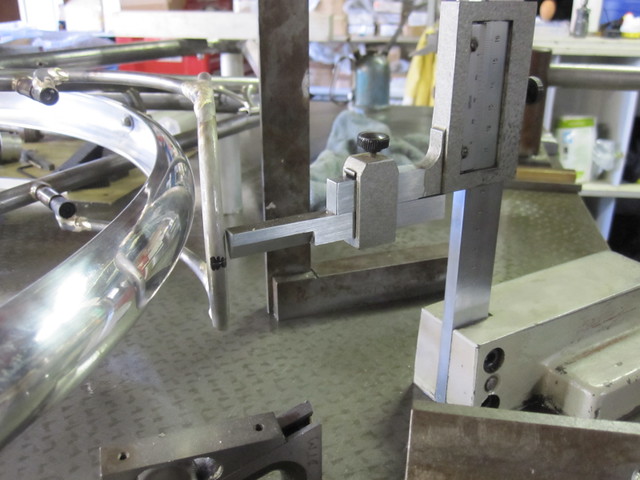
Cooked up
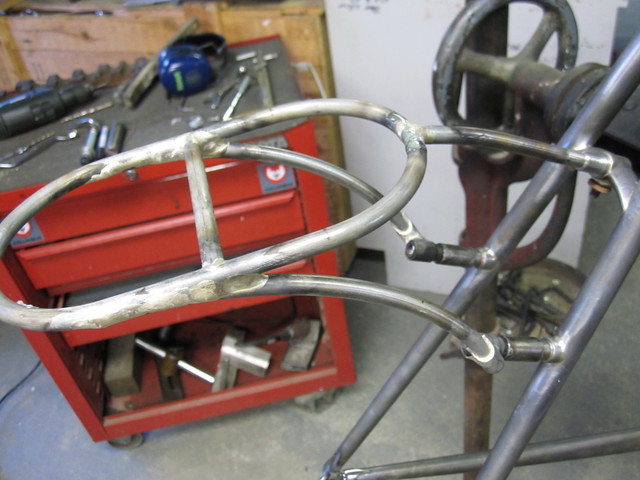
marking off the rear mudguard in situ

Lathe work again, all this work, takes a lot of time. This is why the cost of the rando, racks and bags reflects this.
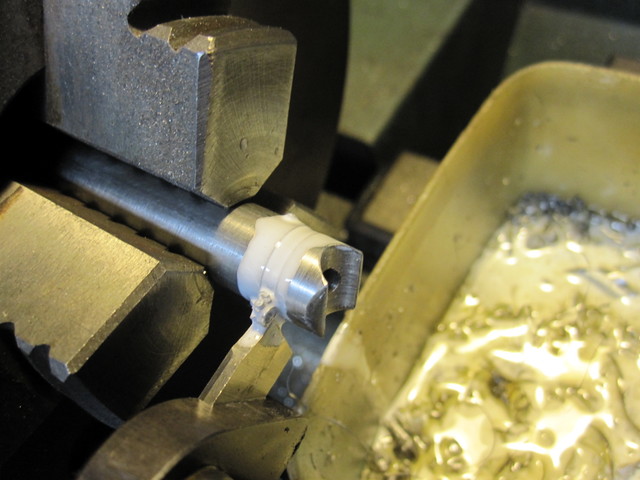
cooked
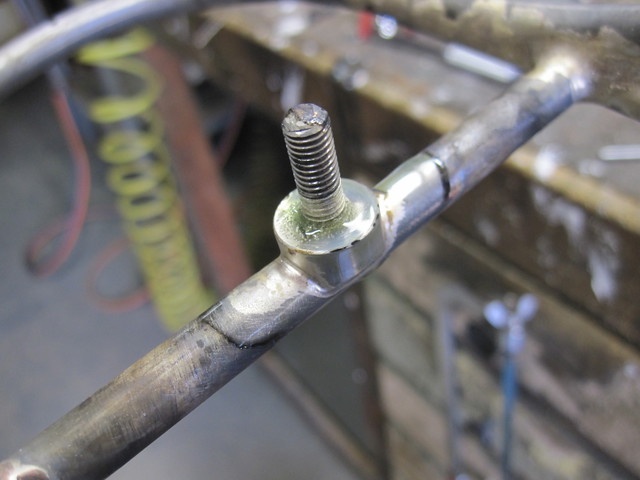
Now, this is the first glimpse of a working detail that I will explain later.
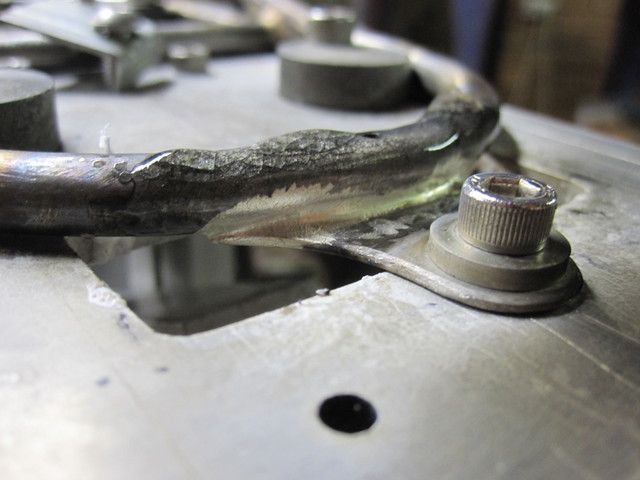
Cooking on the bits
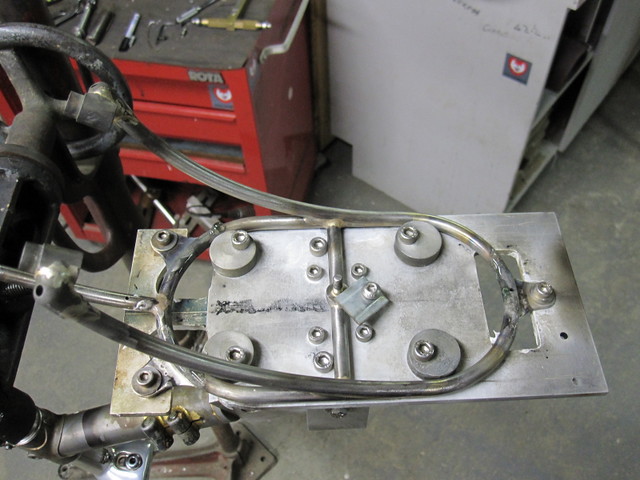
some gussets also arrive which are no in the pic
-
 More finsih work on the Llewellyn Voyageur rando
More finish work begins.
Stainless steel fork crown
Why?
Just for the aesthetic
Things must work properly, but there is no reason why they cannot be attractive.
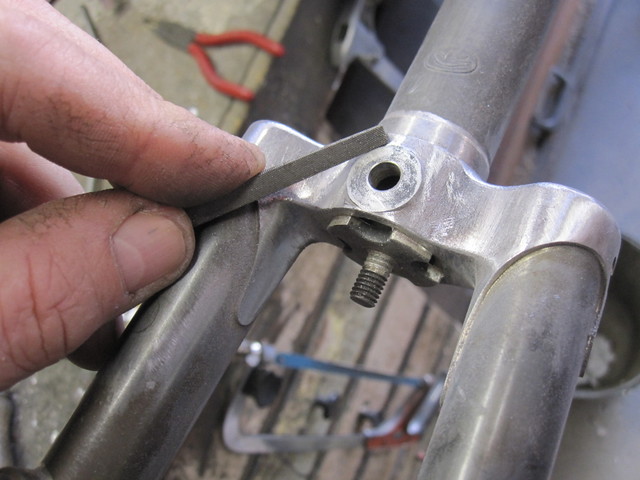
lots of filing and sanding in many steps before the polish. The polish takes minutes, the prep takes hours.
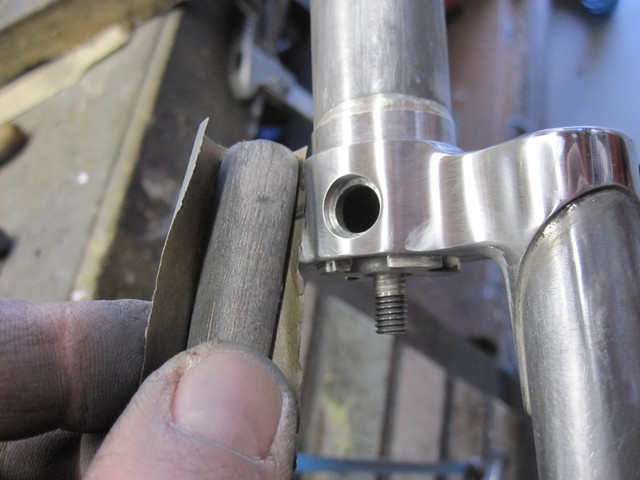
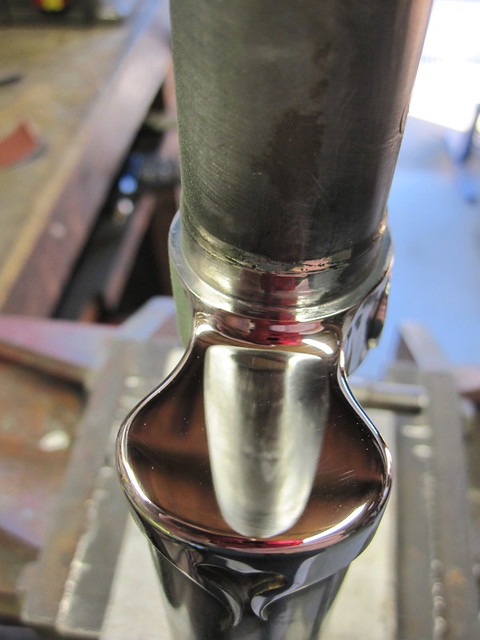
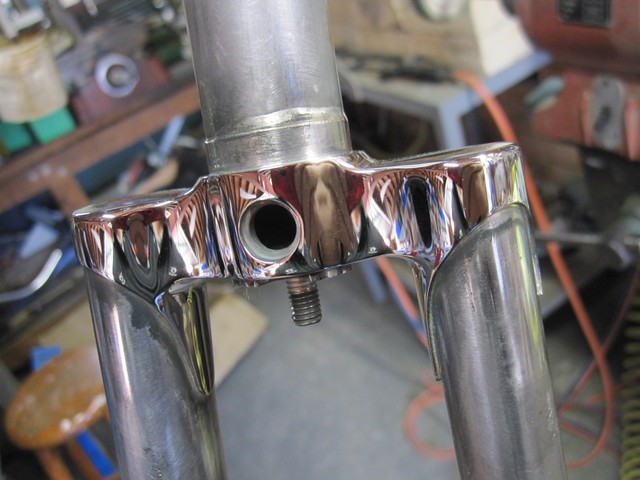
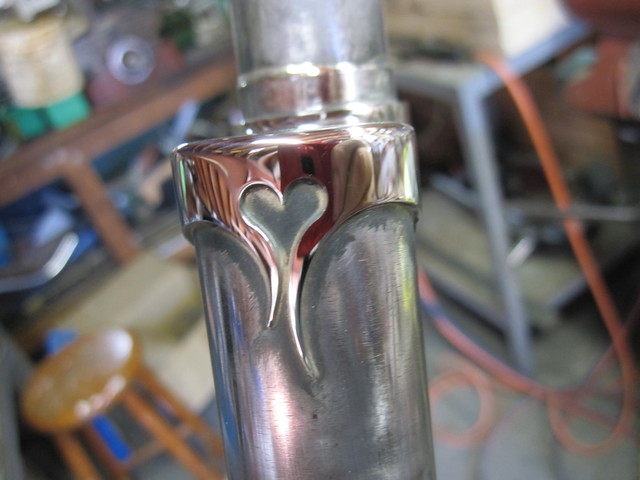
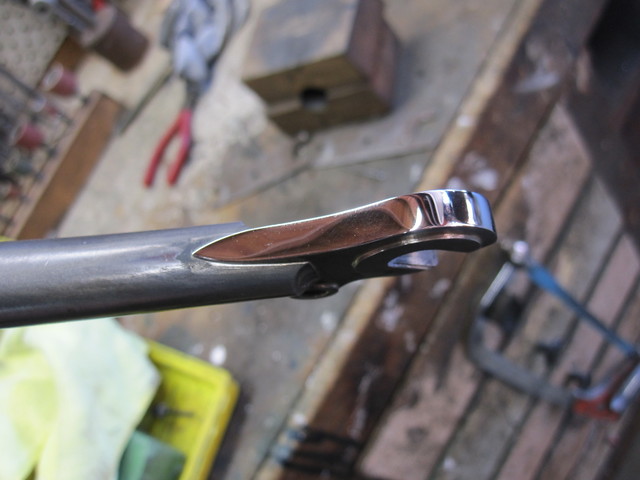
any questions?
-
 Re: More finsih work on the Llewellyn Voyageur rando
No questions. Beautiful work.
-
 Re: More finsih work on the Llewellyn Voyageur rando
No questions, only one remark: no gloss&chrome Llewellyn frame. Deal breaker for me
"Caron, non ti crucciare:
vuolsi così colà dove si puote
ciò che si vuole, e più non dimandare"
 Posting Permissions
- You may not post new threads
- You may not post replies
- You may not post attachments
- You may not edit your posts
-
Forum Rules


 Likes:


 Reply With Quote


 ***
***


Bookmarks